

Introduction
Notch wear at the depth-of-cut line (DCL) is one of the most common and destructive wear patterns encountered when machining stainless steel. This localized wear mechanism appears as a V-shaped groove that forms precisely where the cutting edge meets the workpiece surface. Unlike uniform flank wear, which is predictable and manageable, notch wear progresses rapidly and unpredictably, often leading to sudden insert failure and poor surface finish.
Stainless steel is particularly susceptible to notch wear due to its tendency to work-harden, its high strength at elevated temperatures, and the formation of a tough, abrasive oxide layer on the workpiece surface. Understanding why notch wear occurs and implementing targeted prevention strategies is essential for achieving acceptable tool life when machining austenitic and duplex stainless steels.
What Causes Notch Wear at the Depth of Cut Line
Notch wear forms at the boundary between the cut and uncut surface of the workpiece. At this location, several damaging phenomena converge:
Work Hardening at the Surface: The surface layer of stainless steel is often harder than the subsurface material due to prior machining operations, cold working, or scale formation. When the insert encounters this hardened layer at the DCL, the increased abrasiveness accelerates wear at precisely that point on the cutting edge.
Oxide Scale Interaction: Stainless steels form a chromium oxide layer that protects against corrosion. This same oxide layer is extremely hard and abrasive. The cutting edge at the DCL must penetrate through this oxide layer on every pass, creating a concentrated wear zone.
Chip Flow Concentration: The chip flows along the rake face and exits at the DCL boundary. This concentrated chip flow creates a secondary erosion effect, similar to crater wear but localized at the depth-of-cut position. The chip’s high temperature and velocity at this point accelerate the wear mechanism.
Cyclic Loading: At the DCL, the insert edge alternates between cutting and not cutting as vibration and deflection cause the actual depth of cut to fluctuate microscopically. This cyclic loading promotes fatigue wear and micro-chipping at the notch location.
Identifying Notch Wear vs. Other Wear Types
Before implementing corrective actions, confirm that the wear pattern is actually notch wear:
- Notch Wear: V-shaped groove at the DCL, typically deeper than surrounding flank wear. Width-to-depth ratio is approximately 2:1 or greater.
- Crater Wear: Depression on the rake face caused by chemical diffusion, located behind the cutting edge rather than at the DCL.
- Flank Wear: Uniform wear land along the entire cutting edge measured as VB value. Acceptable up to 0.3mm for finishing, 0.6mm for roughing.
- Thermal Cracking: Network of cracks perpendicular to the cutting edge, typically caused by thermal cycling.
Prevention Strategies for Stainless Steel Notch Wear
1. Vary the Depth of Cut Between Passes
The most effective single strategy against notch wear is to change the depth of cut between successive passes. When the depth of cut remains constant, the notch forms at the same location on the cutting edge and deepens with each pass. By varying the depth of cut by even 0.5mm, you distribute the wear across different areas of the cutting edge.
Implementation: Program your roughing cycle to alternate depths. For example, pass one at 2.5mm DOC, pass two at 2.0mm DOC, pass three at 2.5mm DOC. Most modern CNC controls support variable-depth roughing cycles natively.
2. Use Positive Rake Geometry
Positive rake inserts reduce cutting forces and the tendency for work hardening at the surface. When cutting forces are lower, the workpiece surface ahead of the cut undergoes less plastic deformation, reducing the hardness differential at the DCL.
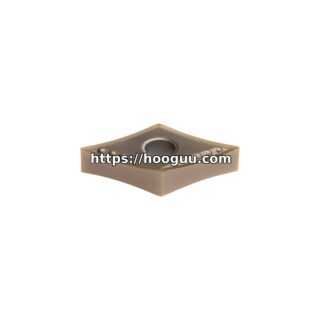
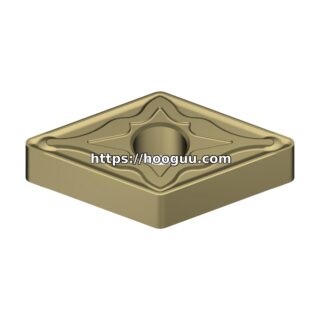
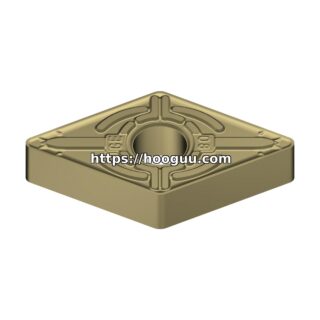
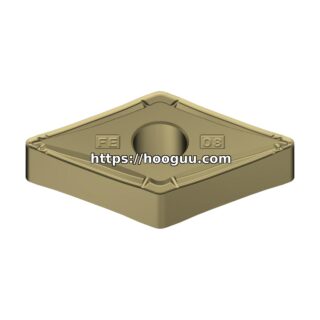
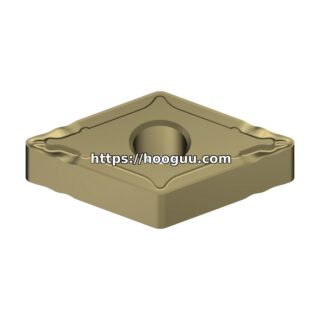
Recommended geometries: For stainless steel turning, use inserts with positive radial and axial rake angles. Common choices include DCMT, CCMT, and VCMT geometries. Avoid negative rake geometries (like CNMG with zero rake) unless heavy roughing requires the edge strength.
3. Select the Right Insert Grade
Notch wear resistance depends heavily on the insert’s substrate toughness and coating composition. Grades specifically formulated for stainless steel (ISO M-class) provide the best balance of hot hardness and toughness at the DCL.
Grade selection guidelines:
- For austenitic stainless (304, 316): M15-M30 grades with PVD TiAlN or AlTiN coatings
- For duplex stainless (2205, 2507): M20-M35 grades with higher toughness substrates
- For martensitic stainless (410, 420): M10-M20 grades with harder coatings
- PVD coatings generally outperform CVD coatings for notch wear resistance because the thinner coating preserves sharper edge geometry
4. Optimize Cutting Speed
Cutting speed has a paradoxical effect on notch wear. Too slow, and the insert rubs against the work-hardened surface, accelerating abrasive wear. Too fast, and thermal softening of the insert coating at the DCL accelerates diffusion wear.
Sweet spot: For 304/316 stainless with carbide inserts, the optimal Vc range for minimizing notch wear is typically 150-220 m/min. Start at 180 m/min and adjust based on observed wear patterns. If notch wear dominates, try reducing speed by 10-15%. If flank wear is excessive, increase speed.
5. Apply High-Pressure Coolant
Conventional flood coolant often fails to penetrate the chip-tool interface at the DCL, where the notch forms. High-pressure coolant (70-150 bar) directed at the cutting zone can effectively cool the DCL area and break chips before they erode the notch region.
Setup requirements: Ensure your machine has a high-pressure coolant pump rated for at least 70 bar. Use toolholders with integrated coolant channels that direct flow precisely at the cutting zone. For external turning, aim the nozzle at the rake face just behind the cutting edge.
6. Use Wiper Geometry for Finishing
Wiper inserts have a secondary radius that contacts the workpiece slightly behind the primary cutting edge. This distributes the cutting forces over a larger area and reduces the concentration of wear at the DCL. The wiper also produces superior surface finish, allowing you to reduce the number of finishing passes.
7. Chamfer or Round the Workpiece Entry Edge
If the workpiece surface has a sharp edge where the insert enters the cut, the impact loading accelerates notch formation. Adding a 1-2mm chamfer or radius to the entry edge reduces the impact and distributes the initial cutting forces more evenly.
Monitoring and Tool Life Management
Establish a regular inspection interval for notch wear when machining stainless steel. Use a toolmaker’s microscope or magnifying loupe to measure notch depth at regular part intervals. Document the number of parts produced at each inspection to build a wear curve specific to your operation.
A practical rule of thumb: replace the insert when notch depth reaches 0.5mm or when the notch width exceeds 1.0mm, whichever comes first. Beyond these limits, the risk of catastrophic insert failure increases dramatically, potentially damaging the workpiece and toolholder.
Conclusion
Notch wear at the depth of cut line is an inherent challenge when machining stainless steel, but it is manageable through proper process design. By varying depth of cut, selecting appropriate insert grades with PVD coatings, optimizing cutting parameters, and ensuring effective coolant delivery, you can extend tool life significantly and maintain consistent part quality. The key is recognizing that notch wear requires a multi-faceted approach; no single corrective action will eliminate it entirely, but the combined effect of several targeted strategies can reduce its impact to acceptable levels.
Shop Related Products at HOOGUU